The old bar was simply a bit of old kitchen worktop I happened to have in the garage, I had grander ideas for the new one.
The bar is 105cm high - a standard height, with an overhang of 20cm, the minimum to eat comfortably at.
The bar is made of 18mm ply, which in theory should be strong enough to support a 20cm overhang without too much flex, but I wasn't convinced and found it seemed to flex a little too much under load.
By the time I'd built the top I had decided to tile it with small mosaic tiles, but it turns out that these are really expensive and my money-no-object plan was blown out the water. Also in the evening the sun shines directly into the bar and the reflection off the sample mosaic 'gloss' tile is blinding.
 |
| Holding the top in place before screwing down. |
The width of the bar is 50cm, this seems ample given the space available.
At this point I painted the sides using a bathroom waterproof paint, that I had left over from another DIY job, on top of a white undercoat.
 |
| Top screwed in place and sides painted |
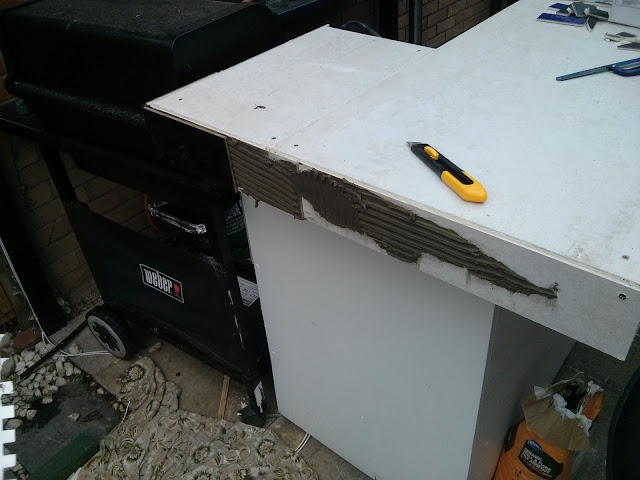
The 6mm backing board is called "No More Ply" and is very rigid and hard. I used a tile scorer to cut it in a score and snap way. The score needs to be quite deep to get a good break. This was glued and screwed to the 18mm ply and forms a very rigid structure.
 |
| Backing board added. |
 |
| First tile added |
Tiling finished with mat black tiles (to minimise glare when it's sunny) a grey grout.
 |
| Tiling all finished |
No comments:
Post a Comment